How to build a new bike from a box
martin wilkins • October 31, 2019
It is very important to have your new bicycle built/set-up correctly, for safety reasons, for brakes and gears to work correctly/smoothly and to give you years of enjoyment. Many bicycles are now brought on the Internet and are delivered in a box.
Cycle Tech UK recommends your new bicycle is assembled by an expert to British Standards 6102 Part 1, 1992.
You may also like to read:
Cycle Assembly For Bicycles Brought Online
Pre-delivery inspection (PDI) Bike in a box build
- Time 1 hour
- Who is this for: Competent mechanic who has the correct industry qualification Cytech Part 1 or equivalent, with the correct tools available and knows the feel of how tight a component should be tightened to.
- Note: The build and tools necessary may very to the make and model.
- This POST is a basic hybrid bicycle with V-brakes (Disc brakes require different checks/adjustments)
- All new bicycles and ebikes require a 1st service to be carried out, 30 days after date of purchase.
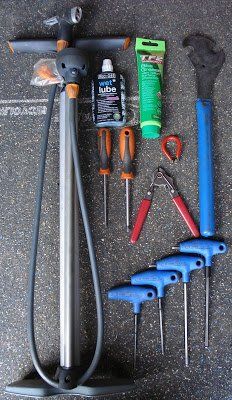
Tools you will need to build your new bike from a box assemberly:
- Track pump
- 15 mm Pedal Spanner
- Philips and flat screwdrivers (Gear & brake adjustments)
- 5 mm Hex key (Depending on make & model Allen keys 3, 4, 5 & 6 mm may be used)
- Wire cutters (To cut brake, gear cables and to crimp ends)
- Spoke key (Too true buckled wheels)
- Chain lubricant & grease (Dry-lube To lubricate brake & gear cables)
- Workshop stand (optional)
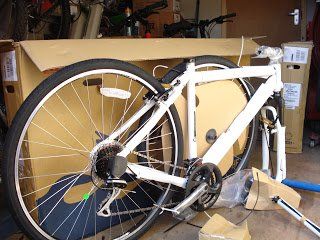
Remove the bike from the box carefully and remove packaging. Fit seat post and clamp the bike in the workshop bike stand.
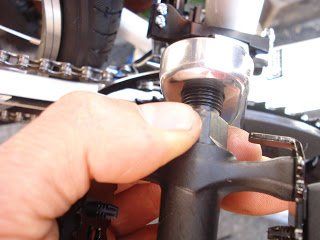
You will need to identify the Left and Right pedal, if fitted incorrectly can permanently damage the crank arm threads.
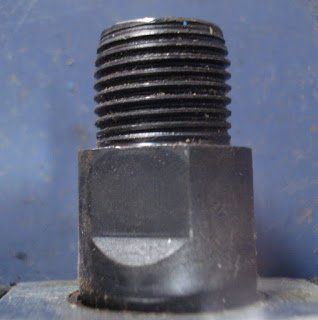
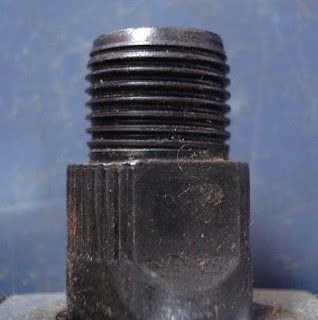
- (R) Right hand threaded pedal (The threads are pointing to the right) This pedal fits the right-hand crank arm/the right-side of the bicycle and screws clockwise to tighten up.
- (L) Left hand threaded pedal (The threads are pointing to the left) This pedal fits the left-hand crank arm/the left-side of the bicycle and screws anticlockwise to tighten up.
- Put a little grease on the threads. Start by hand and tighten with the pedal spanner.
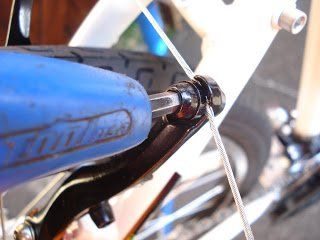
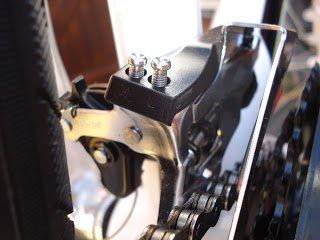
Handlebars and stem:
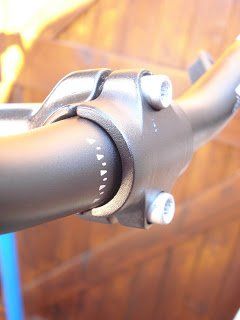
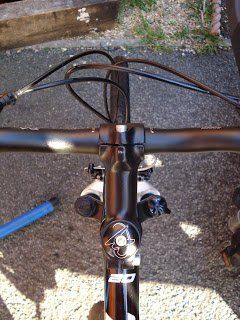
- Grease clamp bolts before fitting handle bars.
- Tighten clamp bolts evenly, there should be an even gap between clamp and steam top and bottom.
- Check alignment of the steering
Continue.................
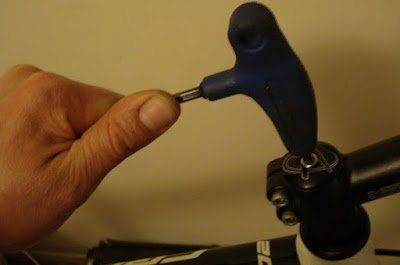
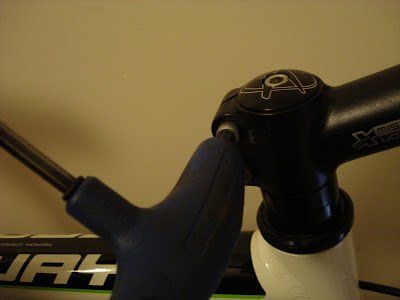
Align the stem with the front wheel.
- Tighten pre-load A-headset bolt.
- Tightening stem clamp bolts (to 5 Nm)
Tighten pre-load A-headset bolt.
The bolt compresses the stem down onto spacers. The preload bolt does not hold the fork onto the bike; after the preload is set, the stem bolts must be tightened to secure the fork in place. The adjustment must be made such that there is no play in the bearings, but allow the fork to turn smoothly without binding or excessive friction.
Align the stem with the front wheel.
Align steering before tightening stem clamp bolts (5-Nm)
Brakes:
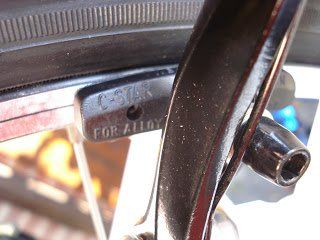
V brakes.
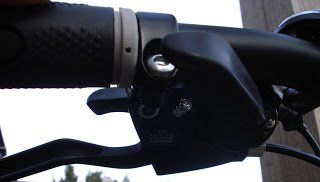
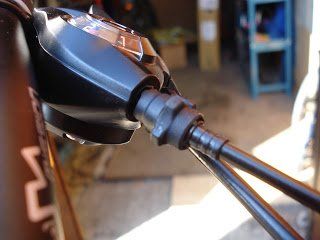
- Adjust brake lever reach for small hands, by screwing the reach adjustment screw-in to bring the brake leaver closer to the handlebars. On this bike the screw is found under the brake leaver.
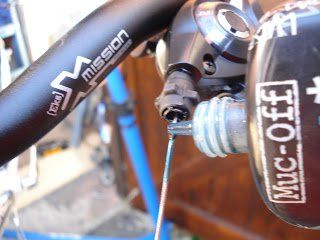
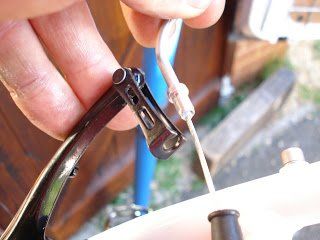
- Fit brake cables to brake levers
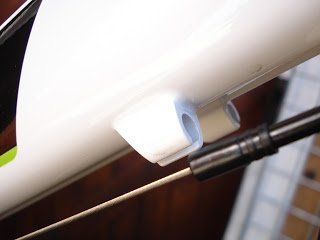
- Lubricate inner brake & gear cables before sliding in to outer cable.
- Fit cables to housing stops.
Correct brake adjustment..................
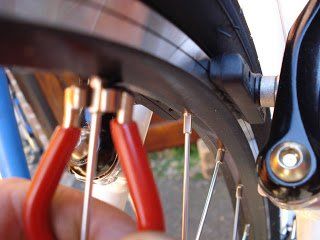
Wheel truing
- Before the brakes can be adjusted correctly, the wheels need to be adjusted for correct alignment.
Using the correct spoke key, tighten the spoke on the opposite side to where the rim rubs the brake block 1/2 a turn at a time. (This is best to be done by a expert)
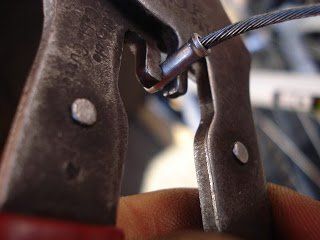
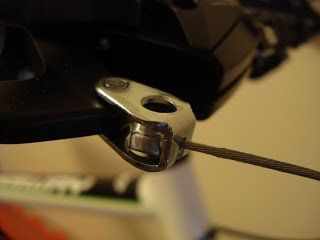
- Fit brake cable to V-tube (Noodle) attach to caliper.
- Align brake pads to rim, incorrect alignment can cause inefficient braking and uneven wear to brake pads.
- Adjust cable tension and tighten pinch bolt.
- Cut and crimp cable ends.
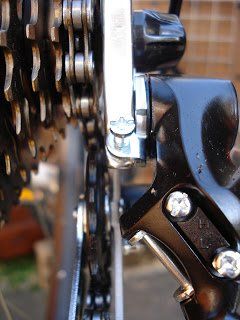
Gears:
Derailleurs need to be set-up correctly to avoid damage, rapid wear and for a smooth gear change.
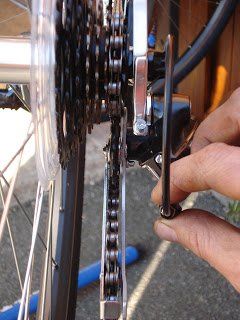
- Rear gear stop screws marked H for high gear & L for low gear. To adjust: Put the chain in to high gear (smallest sprocket at the rear) and adjust the H screw until the chain is exactly in line with the high gear sprocket.
- Rear gear cable adjustment. To adjust: Put the gear into the second gear in from the smallest sprocket and adjust the gear cable so the derailleur is exactly in line with the sprocket the chain is on. (Turn the cable anticlockwise to move the derailleur to the left)
- Adjusting L screw: Put the gear in to low gear the largest rear sprocket and adjust the L screw so the derailleur is exactly in line with the sprocket the chain is on.
- Front gear adjustment screws. Marked H & L To set-up: Put chain in the low gear on the front chainring (Smallest chainring/inner chainring) and the low gear at the rear (The largest sprocket) Turn the L screw until the inner side of the derailleur touches the chain and then back off the screw 1/2 a turn. Now put the chain at the front on the middle chainring and adjust the cable so the derailleur just touches the chain. Put the chain in the highest gears (Smallest at the rear and biggest at the front) and adjust the H screw until the outer side of the derailleur just touches the chain and back off 1/2 a turn. Check the gears change correctly and the chain does not come off and fine tune if necessary, also carry out a road test. Front gear cable adjustment is found at gear shifter
Tyre Pressure:
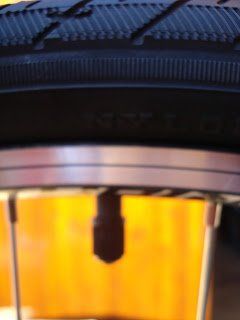
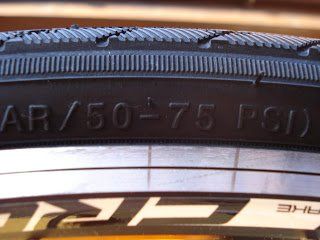
- Check valve alignment before inflating tyres.
- Look at tyre sidewalls to see tyre pressures. This side wall shows Minimum 50 PSI Maximum 75 PSI
Adjusting bike to rider:
Now your bike is built you will need to set-up the saddle height and position.
The handlebar and brake levers to the correct position.
Road test of brakes and gears and make any final adjustments
Why not book Cycle Assembly
service at the comfort of your home by a Cycle Technician

A Bike Business for All Walks of Life.
At Cycle Tech UK, we've created a platform that helps independent cycle technicians get found by customers and generate work in their local area.
We are here for greater things. Cycling is not about money, it’s having a proper interest in
life. Being fixated on making wealth is what will kill your bike business fast.
A reflection on 2025 — a positive year for the cycling season, quality bike repairs, e-Bike servicing, and the strength of local cycling communities across the UK.
Over time I’ve seen more walkers, which is ok - good for your health requiring only a pair of walking boots and that's about it. But where are the cyclists? Or should I say the increase in cycling numbers, especially with e-bikes?

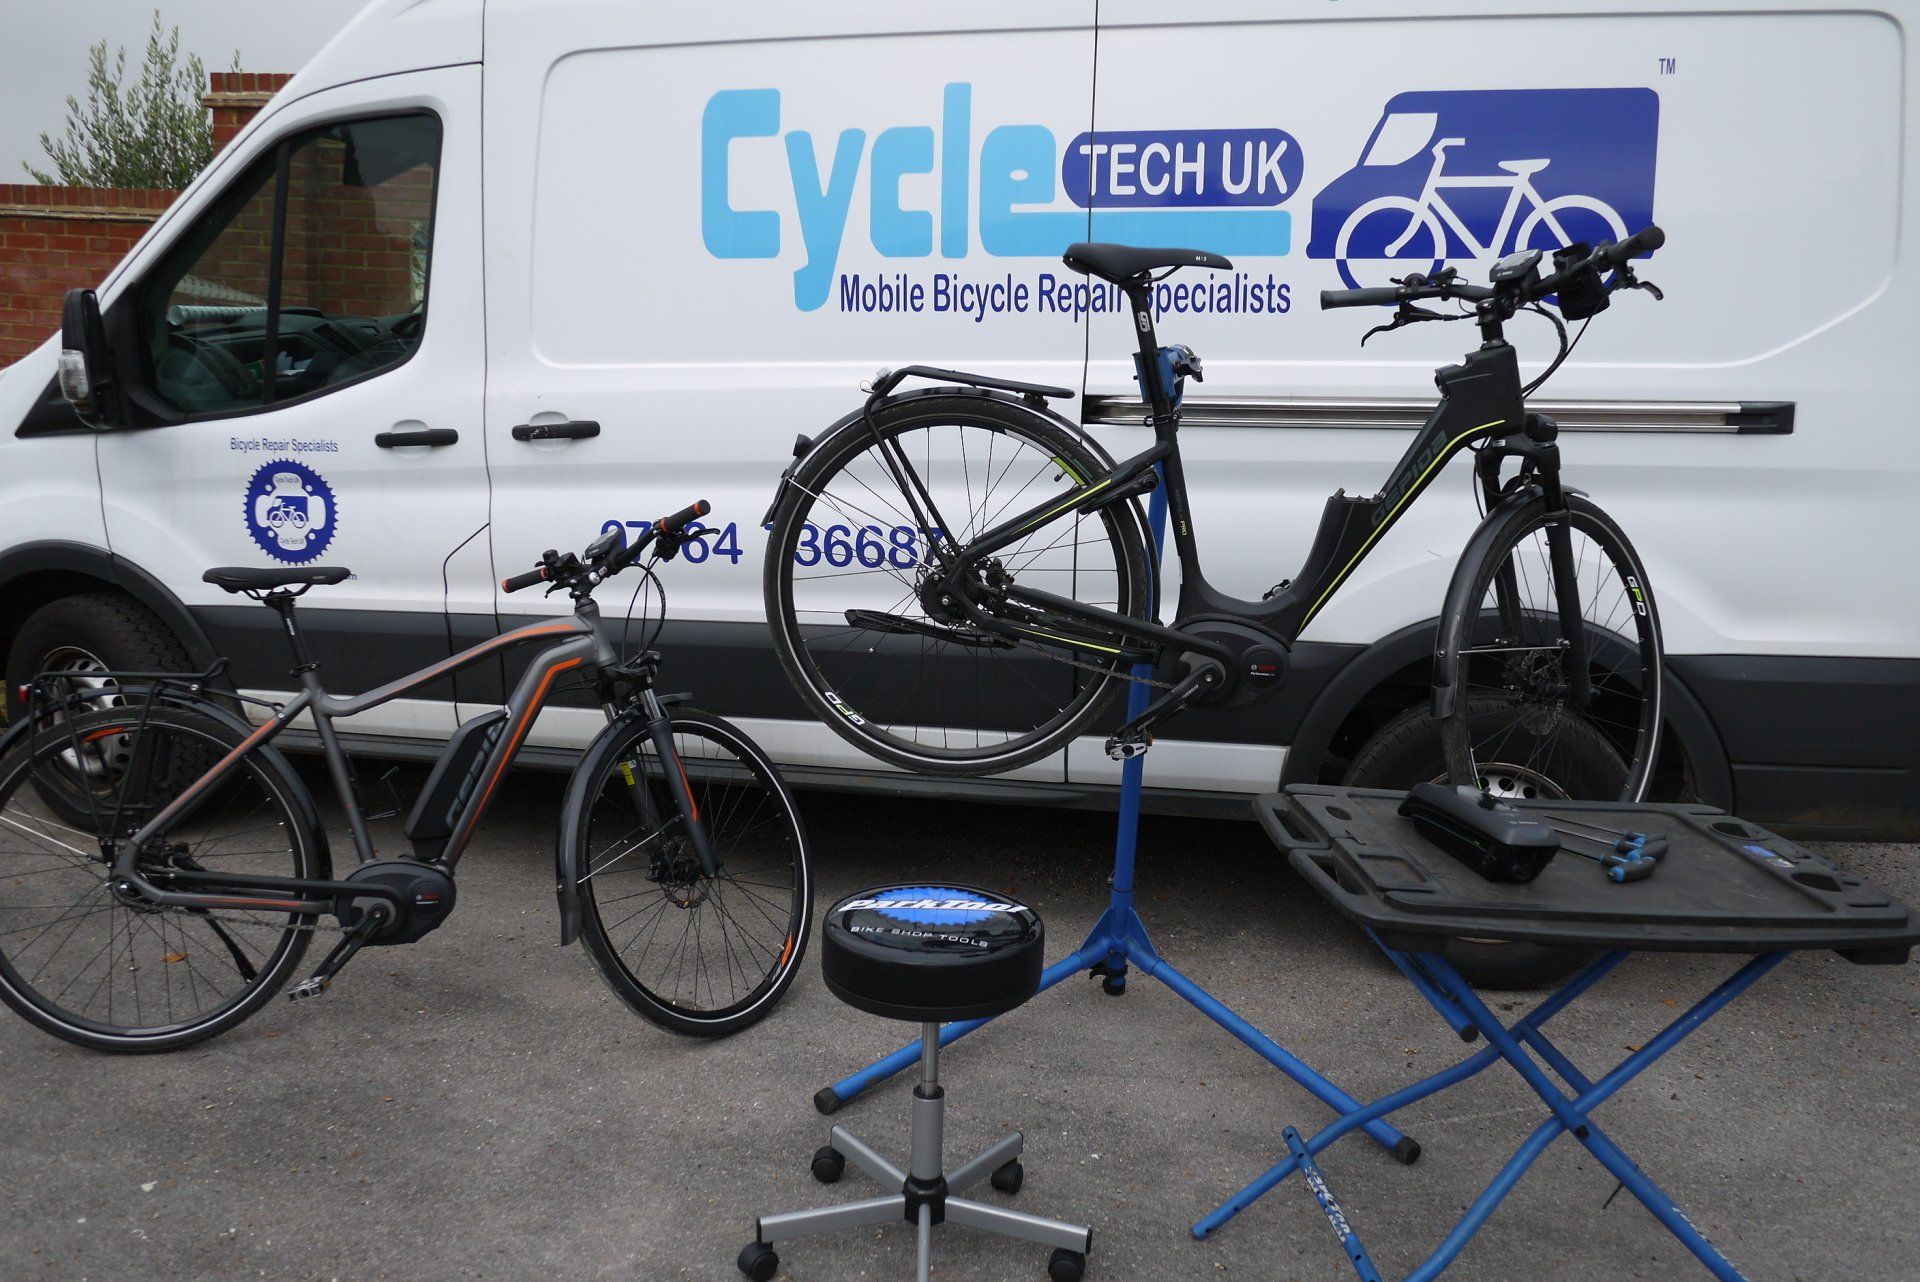
The key to successful business; to deliver above and beyond customers expectations. We know this as aftercare. Our network established itself by offering a premium personal service. The delivery of this means CTUK is known for excellent values and customer service, including the industry standard and ‘M-Check’ - Going the extra mile.
Under the sponsorship deal Cycle Tech UK provides both the very latest racing MTB equipment and all the necessary servicing and parts to keep Gab at the front
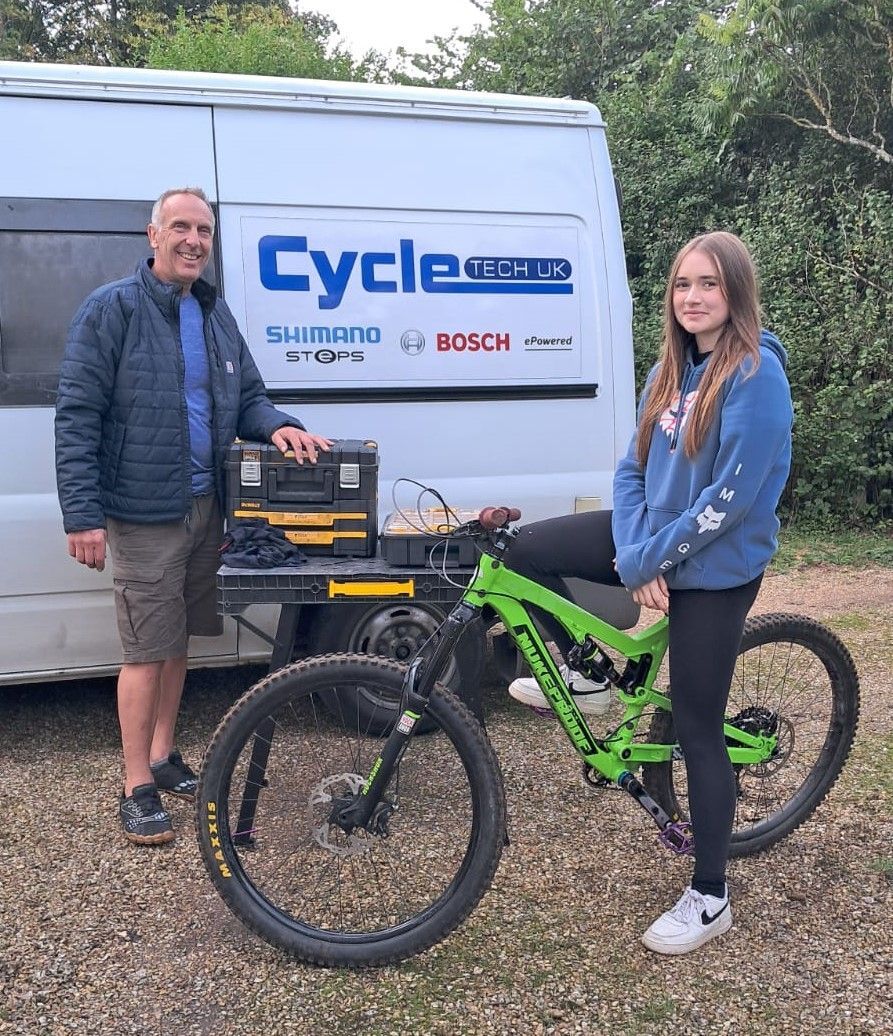
Cycle Tech requires multiple Cycle Technicians due to national expansion and demand for our exceptional passionate working ethos, which really puts the customer first. There is flexibility in the role to fit around your needs, this is a supportive community and not a restrictive franchise.
Come along and take a free test ride on an electric bike. Guaranteed to make you smile.

Tom rides for Vredestein Basso and covers around 30,000km a year, so he burns his way through components at quite a rate - we've just replaced his big chainring, chain, cassette and brake pads.
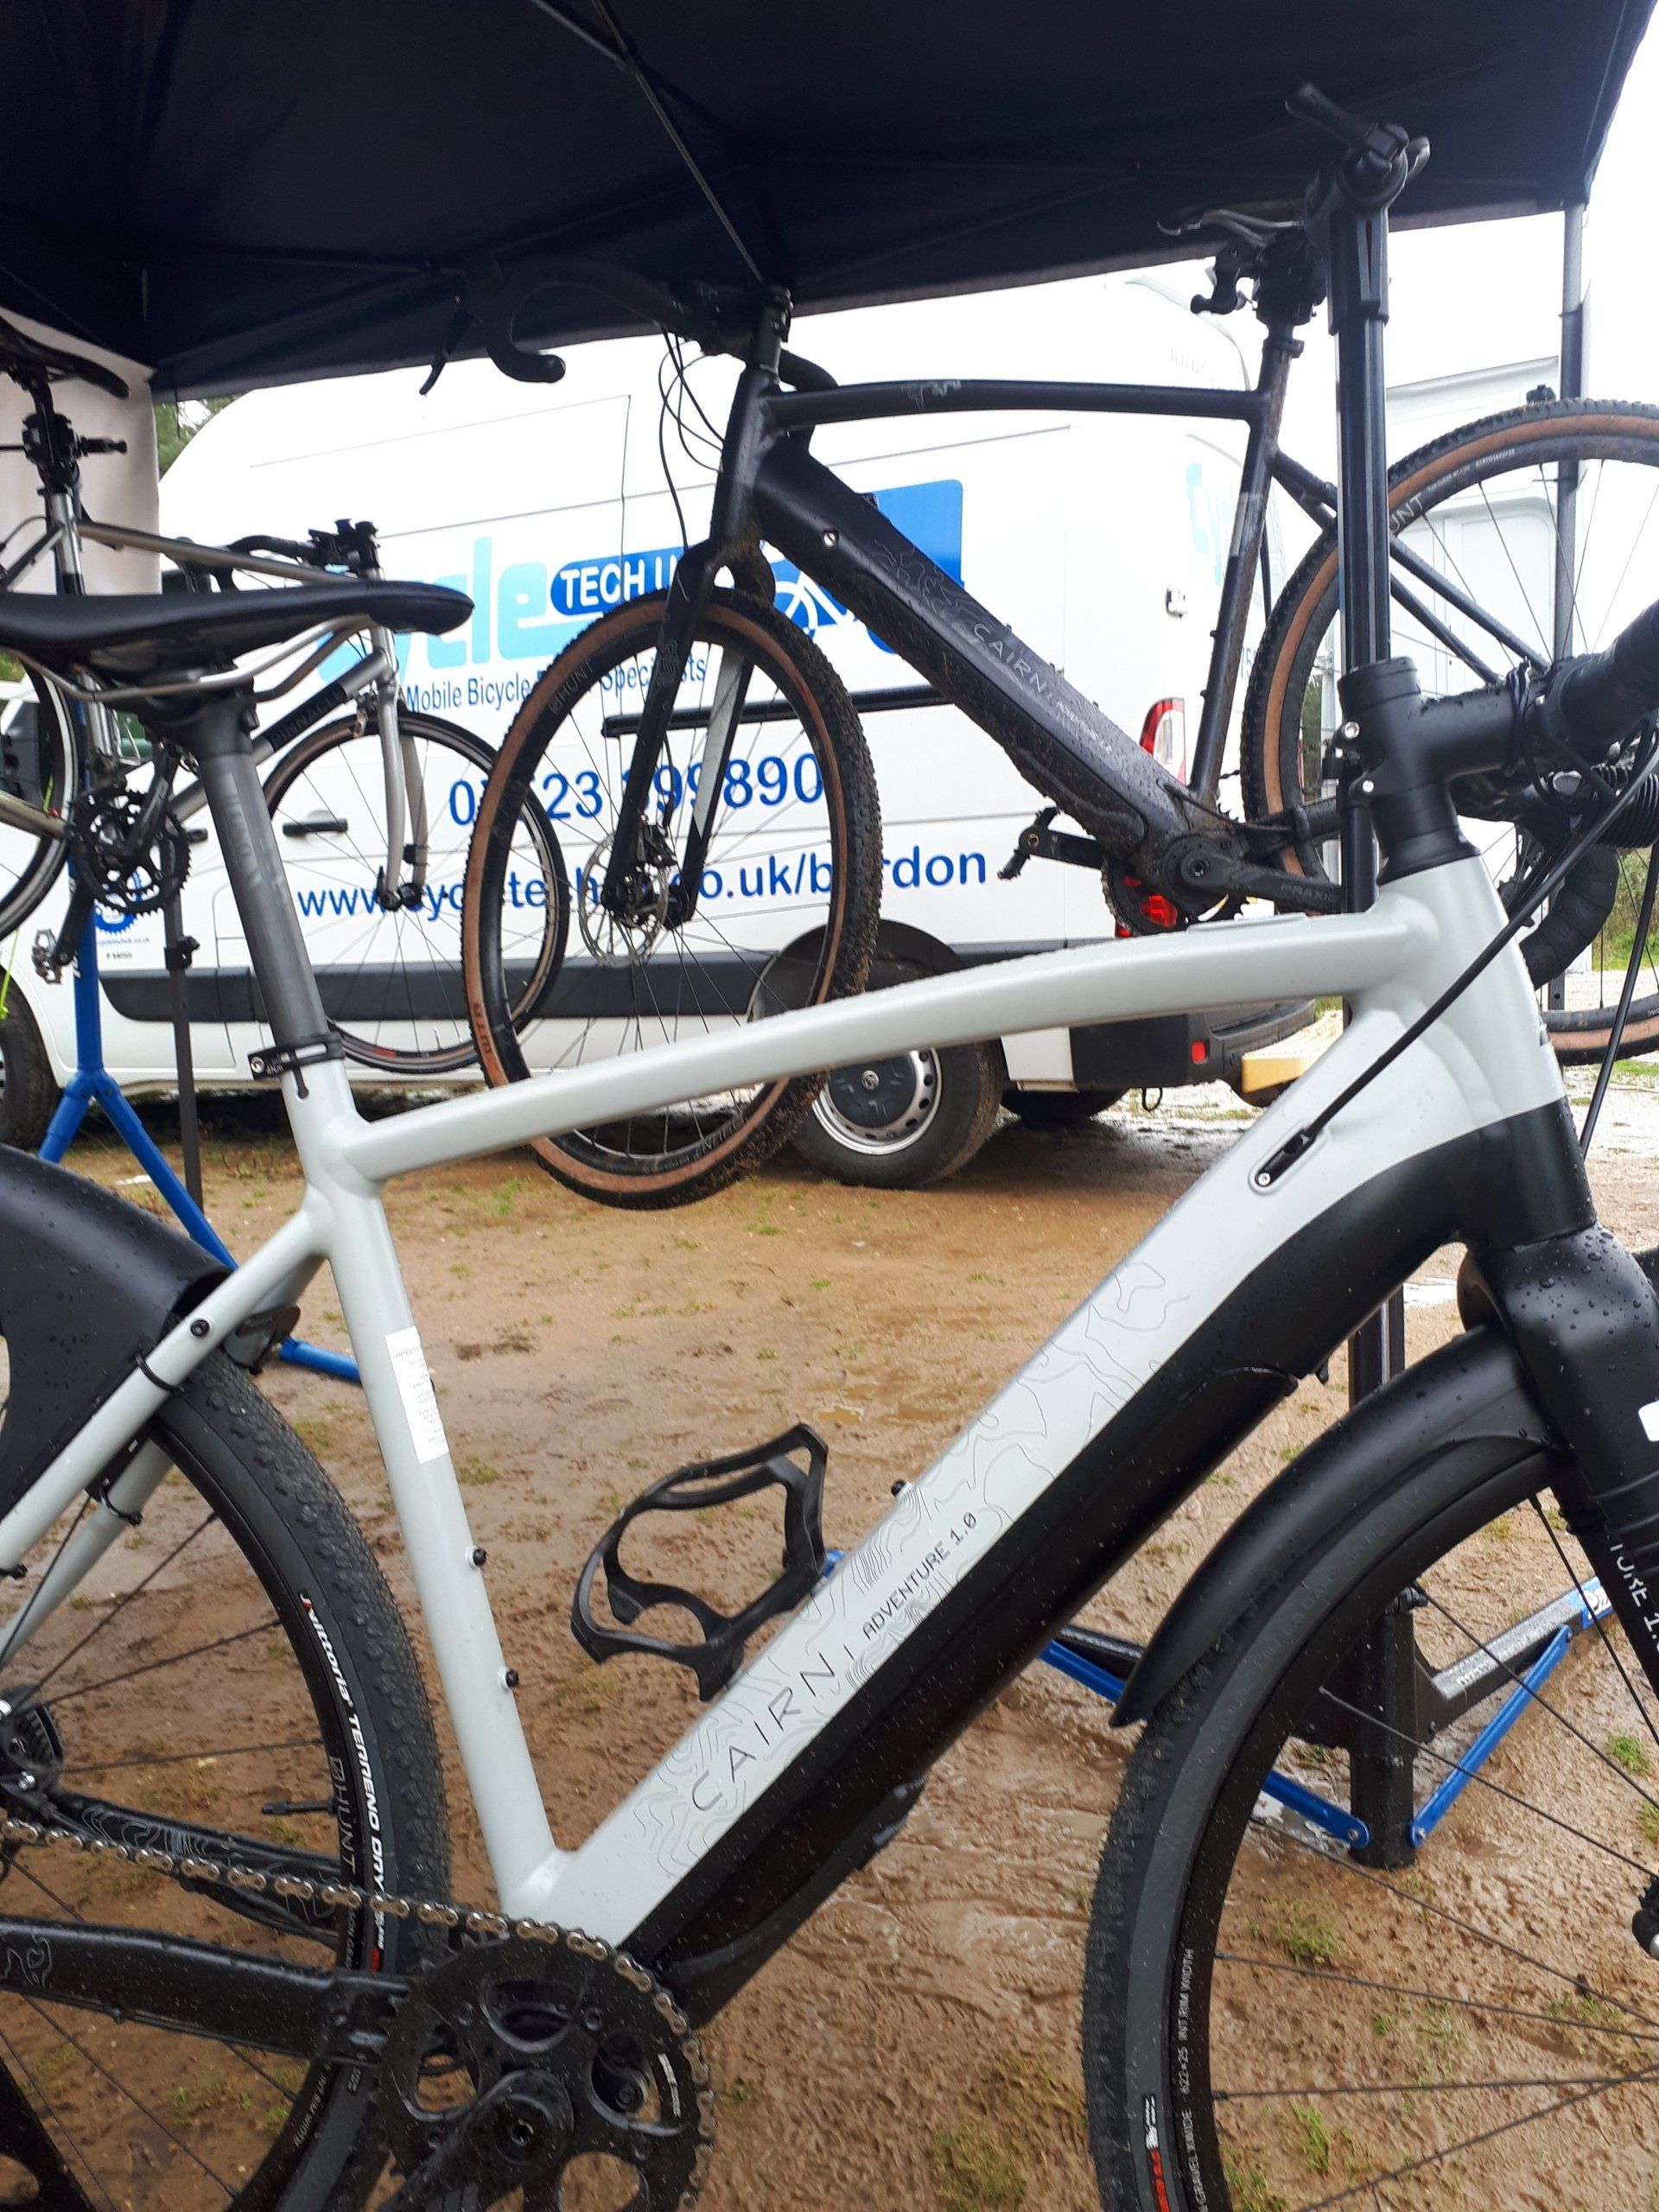
Cycle Tech UK is advising cyclists to have a home visit when their new bike arrives to have it set up and explain how everything works. Cycle Tech UK also can arrange the fist service to make sure everything is running smooth, items like cables, crank bolts and steering require adjustments at 30 days.